1068
1068
 Request Call Back
 Contact
 1068
1068
How to Remove a Splinter with Baking Soda: Safe, Simple and Effective
Published on: Aug 31, 2026
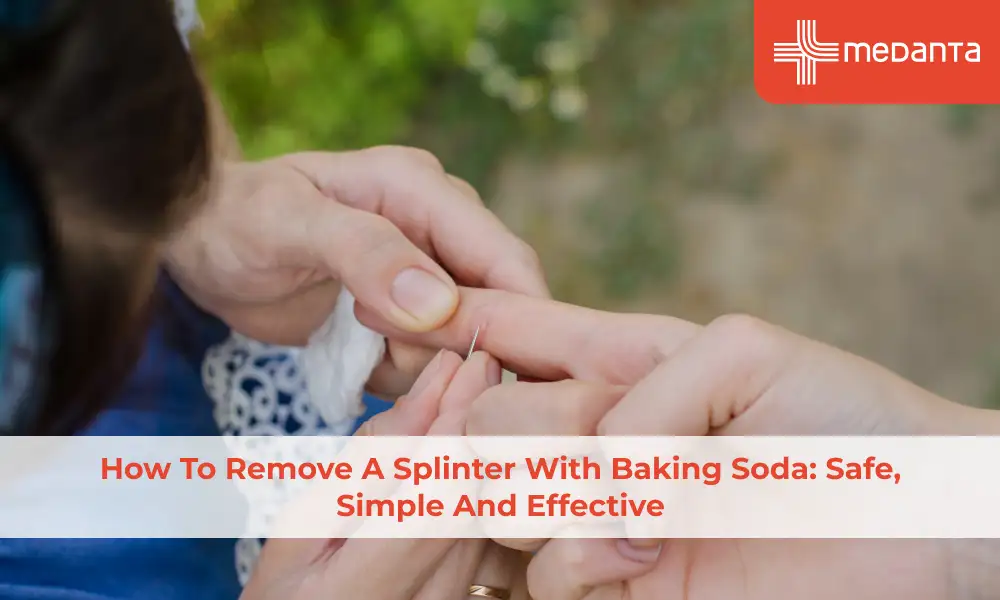
TABLE OF CONTENTS
- What Is the Baking Soda Method and Why It Works
- Step-by-Step: How to Use Baking Soda to Remove a Splinter
- Other Household Items That Help Draw Out Splinters
- How to Remove a Deep or Embedded Splinter Safely
- Tools You'll Need for Splinter Removal at Home
- How to Clean and Disinfect the Skin Before and After
- Signs of Infection to Watch For After Removal
- When to Go to a Doctor Instead of Doing It at Home
- How to Prevent Splinters in the Future
- Conclusion & First-Aid Kit Essentials
- FAQs
- References
A splinter left in the skin can become a problem. Our body treats any foreign object as an invader, sending white blood cells to the site, producing redness, swelling and pus. Organic splinters carry bacteria that raise infection risk. Removing a splinter early, before inflammation takes hold, makes the process quicker, less painful and safer.
What Is the Baking Soda Method and Why It Works
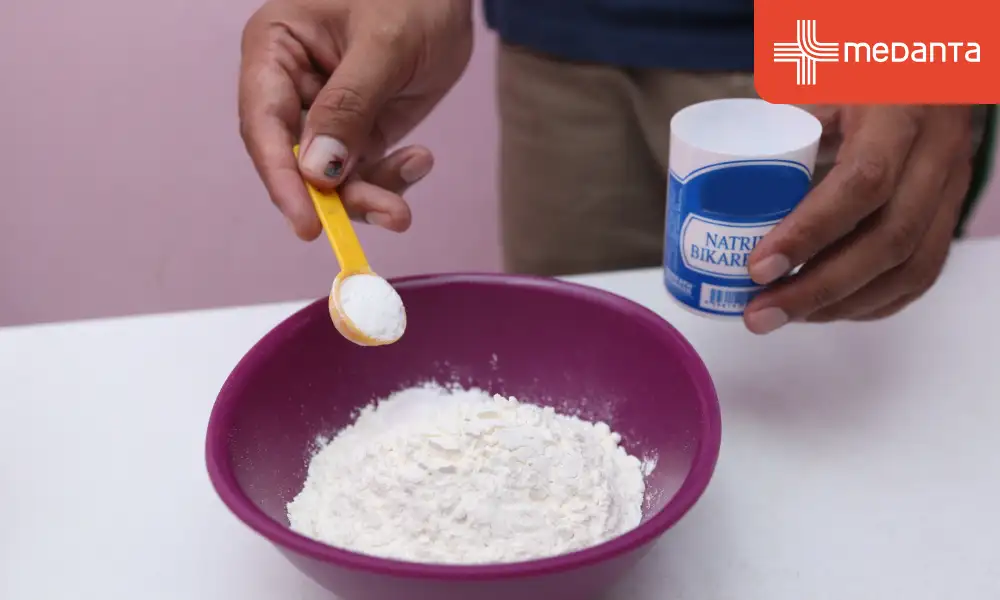
Baking soda (sodium bicarbonate) draws a shallow splinter toward the skin's surface through osmosis. You can apply it as a thick paste and leave it uncovered. This forms a moisture gradient that makes surrounding skin swell slightly thus loosening tissue around the splinter and allowing it to migrate toward the surface.
This method works best for splinters close to the surface. Its main advantage is softening the skin first making removal easier and less painful when the splinter surfaces.
Step-by-Step: How to Use Baking Soda to Remove a Splinter
Steps are:
Wash the affected area with soap and water and dry it thoroughly
Mix a quarter teaspoon of baking soda with a few drops of water to form a thick paste
Apply a generous layer of paste directly over the splinter site
Cover with a clean bandage or medical tape and leave for 24 hours
Remove the bandage the next day as in many cases the splinter will have migrated to the surface and be visible or palpable
Use clean tweezers or a sterilised needle to grasp or ease out the accessible splinter
Clean the wound with an antiseptic and cover with a fresh bandage
If the splinter has not surfaced after 24 hours, reapply for a second day. No result after two attempts means the splinter is too deep for this method.
Other Household Items That Help Draw Out Splinters
Ichthammol ointment (available at Indian chemists): A drawing salve that softens skin and draws the splinter toward the surface; more effective than baking soda for deeper splinters
White school glue: Apply a thin layer, allow to dry fully, then peel off in the entry direction; sometimes brings very shallow splinters with it
Hydrogen peroxide: Soaking for a few minutes can cause a shallow splinter to bubble slightly and become easier to grasp
Warm water soak: Ten to fifteen minutes softens the skin enough to make tweezer removal easier for surface splinters
Duct tape may help with splinters that protrude slightly above the surface but it does not draw splinters out from below the skin. Toothpaste has no evidence for splinter removal.
How to Remove a Deep or Embedded Splinter Safely
Sterilise a fine needle with rubbing alcohol or flame. Use it to gently tease apart the skin above the splinter, working along and not across its line. Once the tip is exposed, grasp with tweezers and pull in the same direction it entered.
Do not squeeze the skin aggressively as this can break the splinter and push fragments deeper. Work with good lighting and magnification. If you cannot access the splinter after a careful attempt, go to your doctor rather than continuing to probe.
Tools You'll Need for Splinter Removal at Home
They are
Fine-tipped tweezers and a sterilised needle - for grasping or teasing out the splinter
Rubbing alcohol, magnifying glass, and a torch - for sterilising, seeing, and locating the splinter
Antiseptic cream and adhesive bandage - for cleaning and covering the wound after removal
How to Clean and Disinfect the Skin Before and After
Before removal, wash the area with soap and water and sterilise all metal tools with rubbing alcohol or flame. For the baking soda method, clean hands are sufficient. Also no skin sterilisation is needed before applying paste.
After removal, clean with povidone-iodine (Betadine) or rubbing alcohol. Apply antiseptic cream - mupirocin or chlorhexidine gel. Cover with a bandage for 24 to 48 hours and change dressings daily.
Signs of Infection to Watch For After Removal
Warning signs are:
Redness spreading outward from the wound and warmth or swelling worsening over 24 to 48 hours rather than improving
Yellow or green pus at the wound, or red streaking extending up from it which indicates spreading infection requiring same-day attention
Fever alongside a local wound reaction
Minor redness at the wound site for 12 to 24 hours after clean removal is normal. Infection signs develop later, worsen, and need treatment.
When to Go to a Doctor Instead of Doing It at Home
Seek medical care for splinters in the eye or eyelid, deep foot splinters causing walking pain, any glass or metal fragment, splinters in a joint, or any infected site. People with diabetes, poor circulation, or immune compromise should have significant splinters reviewed by a doctor.
How to Prevent Splinters in the Future
Effective preventive measures are:
Wear slippers on wooden floors and outdoor paths - the foot sole is the most common splinter site in Indian households
Sand wooden furniture and handles before regular use and wear gloves when gardening or handling rough timber and bamboo
Check play areas for protruding nails or exposed bamboo edges before allowing barefoot play.
Conclusion & First-Aid Kit Essentials
Most splinters can be managed safely at home with the right tools and a clean approach. The baking soda method is a practical first step for shallow splinters particularly for children or when the tip is not immediately accessible. First aid kit essentials: fine-tipped tweezers, a sterilised needle, rubbing alcohol, povidone-iodine, antiseptic cream and a magnifying glass.
FAQs
How long does the baking soda method take to draw out a splinter?
Leave the paste for 24 hours. Many shallow splinters surface within this period. Reapply for a second day if not. No result after two attempts means the splinter is too deep and needle or medical assessment is needed.
Does baking soda actually work for splinter removal?
It works for shallow splinters by softening skin and encouraging migration to the surface, and is not effective for deep ones. The evidence is largely anecdotal but the mechanism is physiologically plausible and the method is safe.
What else can I use at home to remove a splinter besides baking soda?
Ichthammol ointment, white school glue, warm water soaking and hydrogen peroxide are all reasonable options. Fine-tipped tweezers with good lighting remain the most reliable once the splinter tip is accessible.
How do I remove a splinter that is too deep to see?
Sterilise a needle, tease apart the skin along the splinter's entry direction, then grasp with tweezers once the tip is exposed. If you cannot access it, seek medical care as a doctor may use a scalpel or refer for imaging.
Is it safe to use tweezers on a splinter at home?
Yes provided the tweezers are clean but always wipe tips with alcohol before use. Avoid squeezing the skin forcefully as this can break the splinter and push fragments deeper.
What happens if I leave a splinter in and don't remove it?
The body may push a tiny splinter out naturally over a few days. More commonly, organic splinters become a focus of infection as bacteria travel deeper. Leaving a splinter in is not the safer option.
How do I know if my splinter wound has become infected?
Increasing redness spreading beyond the immediate wound, warmth, swelling worsening over 24 to 48 hours, pus or red streaking up from the wound are all infection signs. Mild soreness at the entry point for 12 to 24 hours after clean removal is normal.
Can I use duct tape or toothpaste to remove a splinter?
Duct tape may help with splinters protruding above the surface but does not draw splinters from below the skin. Toothpaste has no evidence for splinter removal. Neither is recommended over baking soda paste, ichthammol or tweezers.
How do I remove a splinter from a child's foot without causing pain?
Apply EMLA cream under an occlusive dressing for 45 to 60 minutes before attempting removal. Sit the child with the foot at a comfortable height and use distraction during removal.
When should a doctor remove a splinter?
Splinters in the eye or eyelid, deep foot splinters causing walking pain, glass or metal fragments, splinters in a joint, and any infected site all warrant medical care. People with diabetes, poor circulation or immune compromise should have significant splinters reviewed by a doctor.
References
1. Blankenship RB, Baker T. Imaging modalities in wounds and superficial skin infections. Emerg Med Clin North Am. 2007;25(1):223–34. https://doi.org/10.1016/j.emc.2006.11.008
2. Capellan O, Hollander JE. Management of lacerations in the emergency department. Emerg Med Clin North Am. 2003;21(1):205–31. https://doi.org/10.1016/S0733-8627(02)00066-8
3. Usatine RP, Moy RL. Skin foreign body removal. Am Fam Physician. 2002;65(7):1383–8. https://www.aafp.org/pubs/afp/issues/2002/0401/p1383.html
4. Nishioka GJ, Montgomery MT. Wound care - the basics. Dent Clin North Am. 1994;38(3):423–38.
https://doi.org/10.1016/S0011-8532(22)01348-3
5. Quinn JV. Tissue Adhesives in Clinical Medicine. 2nd ed. Hamilton, Ontario: BC Decker; 2005. Chapter 5: Wound preparation and infection control.